Using Google Workspace/G Suite/GMail as the default SMTP server
Google Workspace/G Suite/GMail OAUTH2 authorization setup for SCHLIX CMS v2.2.5+
This is the new recommended method to set up Google Workspace/G Suite/GMail as your SMTP for SCHLIX CMS v2.2.5+ as of October 15, 2020. It's a more secure method as it stores only the OAUTH2 credentials in the configuration file. The SMTP server name (smtp.gmail.com), port (587), and SSL encryption type (TLS) will be set up automatically.
- Click Settings -> Email Setup
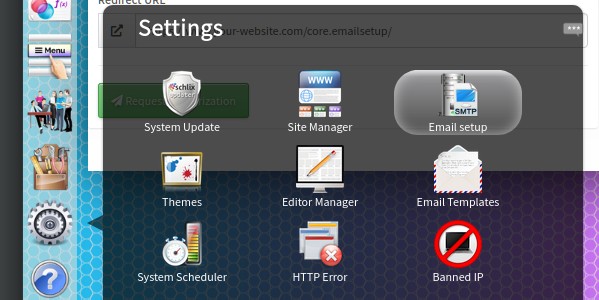
- Click Authorize OAUTH2 connection. Click Google Workspace/GSuite as your provider. You will need to go to https://console.developers.google.com/project to get the Client ID and Secret. You will also need to copy & paste the redirect URL from the screen when generating the credentials.
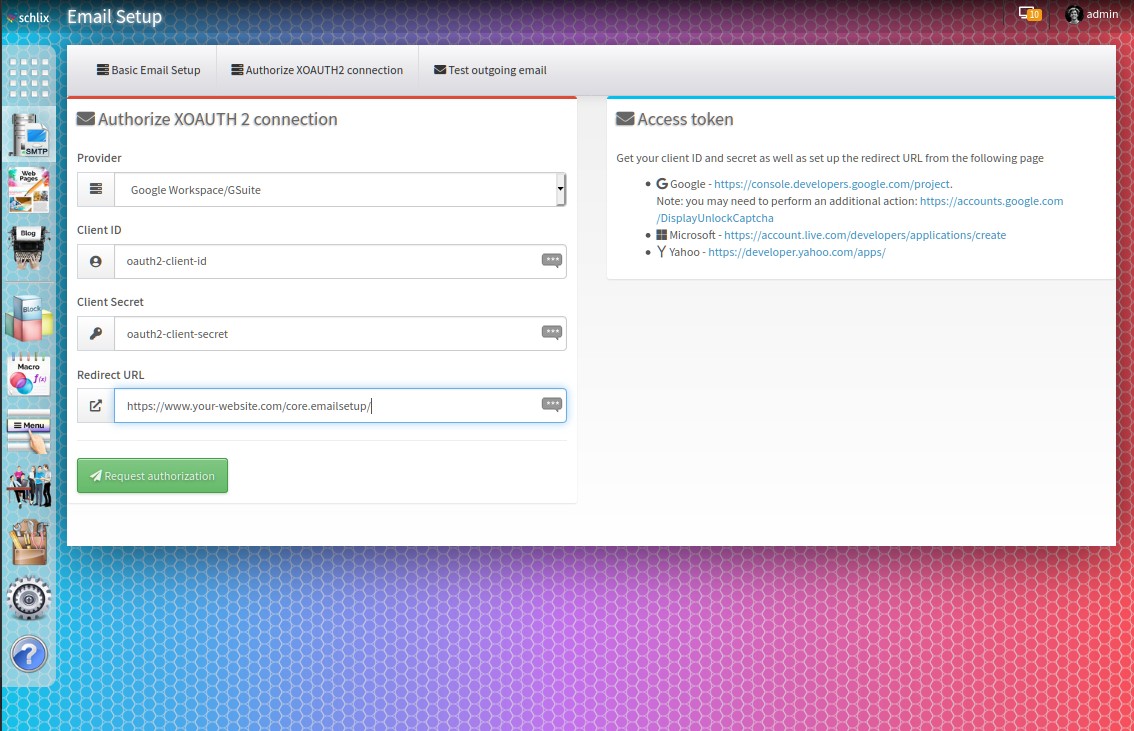
- Click the link on the right hand side under the Access Token box, and you will be taken to https://console.developers.google.com/project. When you're on that page, click Create Project.
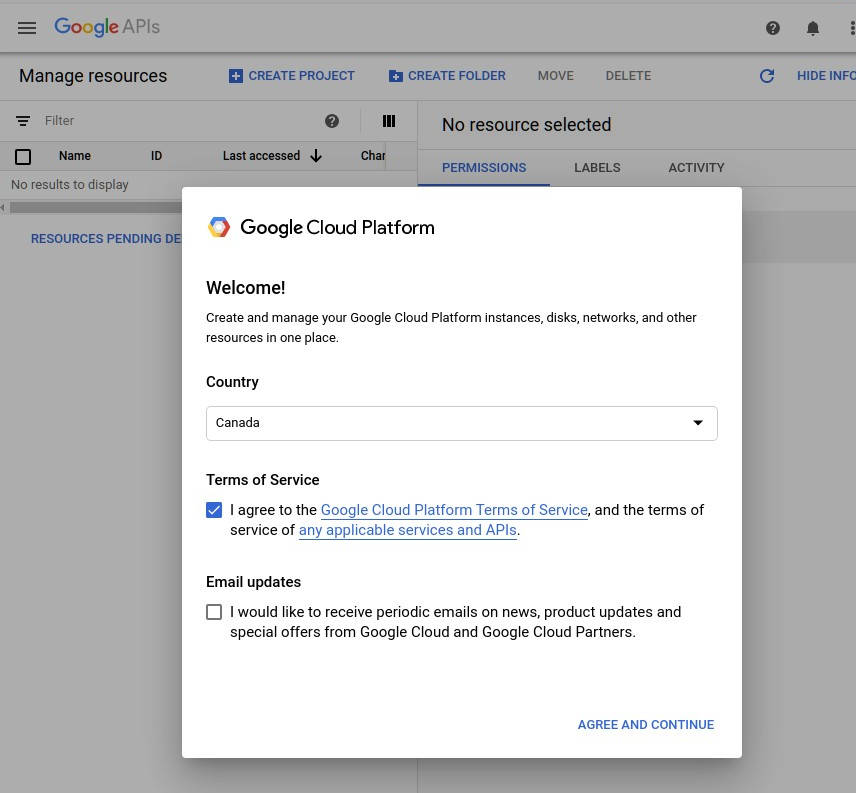
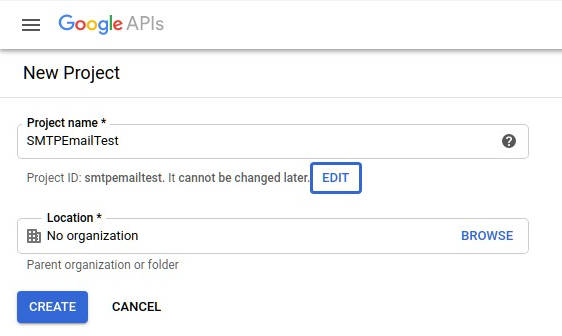
- Name your project and click the Create button.
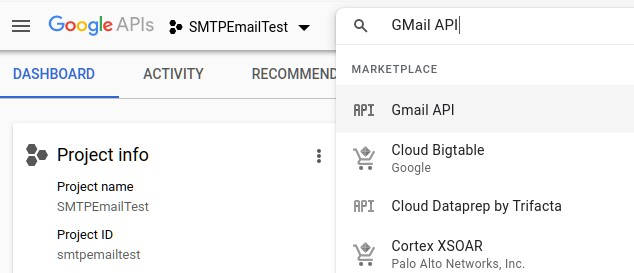
- Once the project is created, click on the search box and look for GMail API.
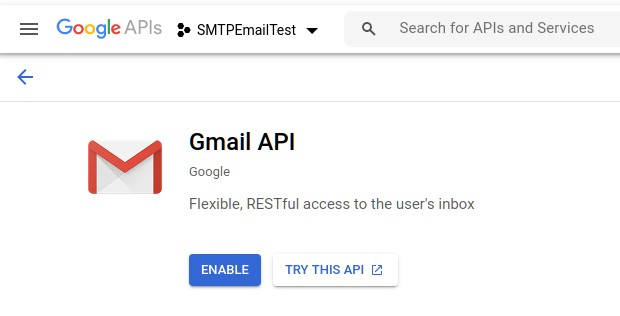
- Click the blue Enable button.
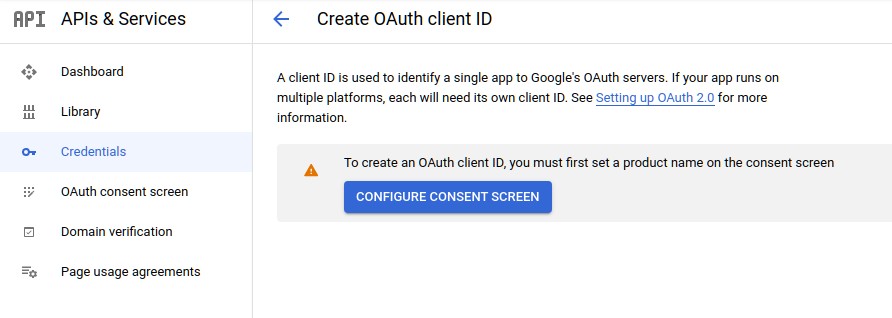
- Once you have enabled it, click the Credentials link on the left menu. If you haven't set up the consent screen, you will need to click the blue Configure Consent Screen button. If you have already set this up, skip to step 14.
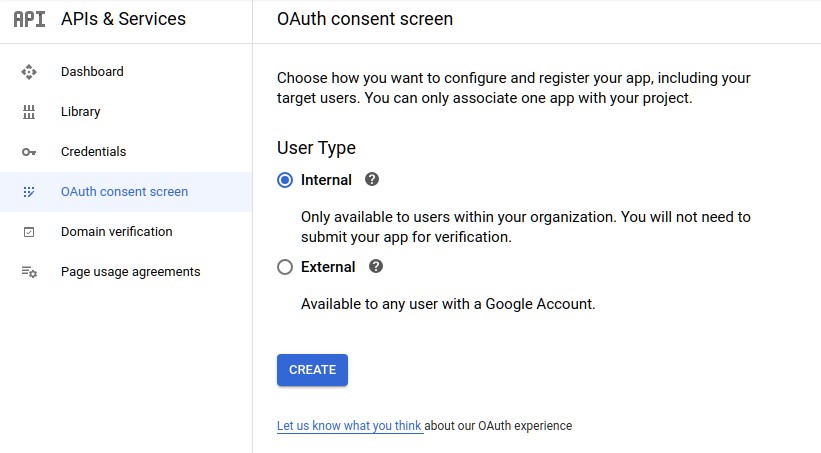
- For Google Workspace/GSuite, select Internal as the User Type. If you use a personal GMail account, External is the only option. Once you've made your selection, click the blue Create button.
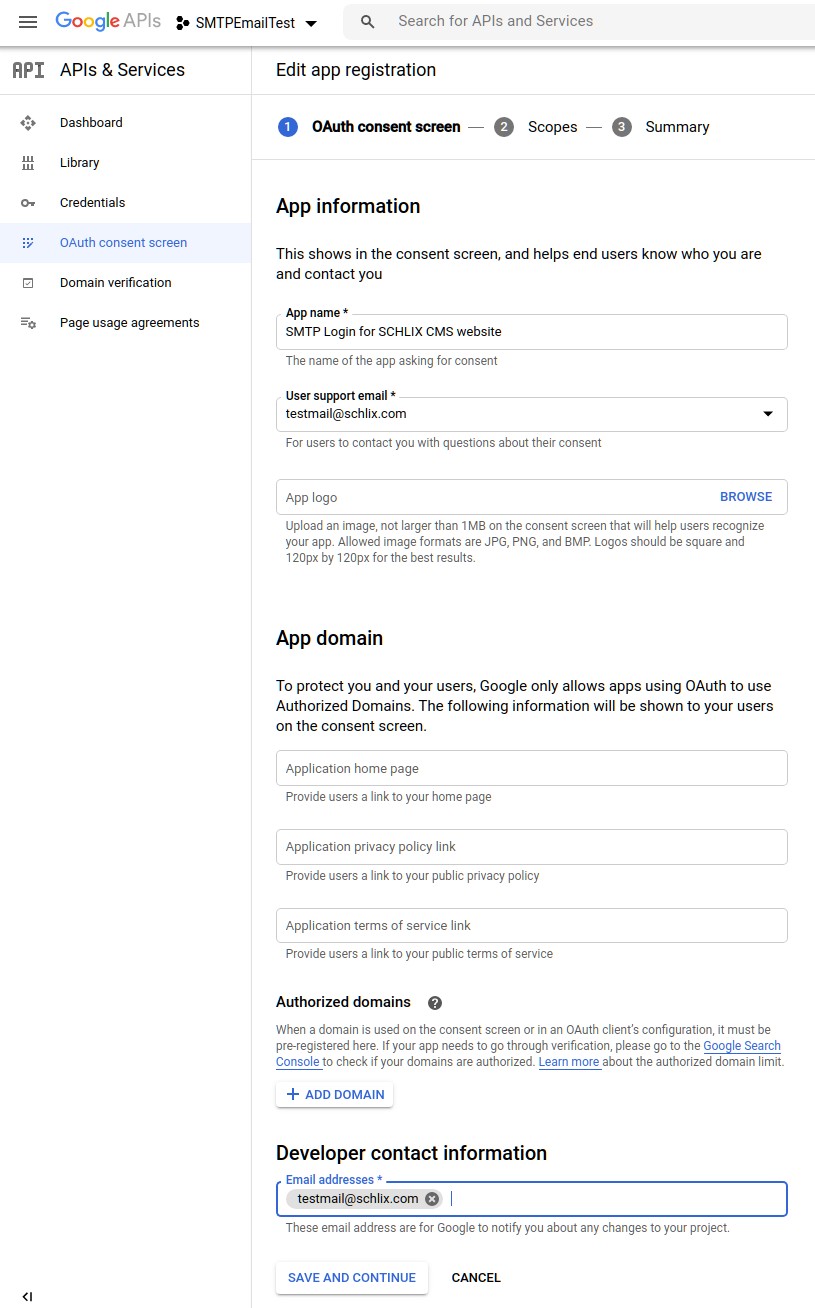
- Configure the Oauth consent screen and click Save and Continue.
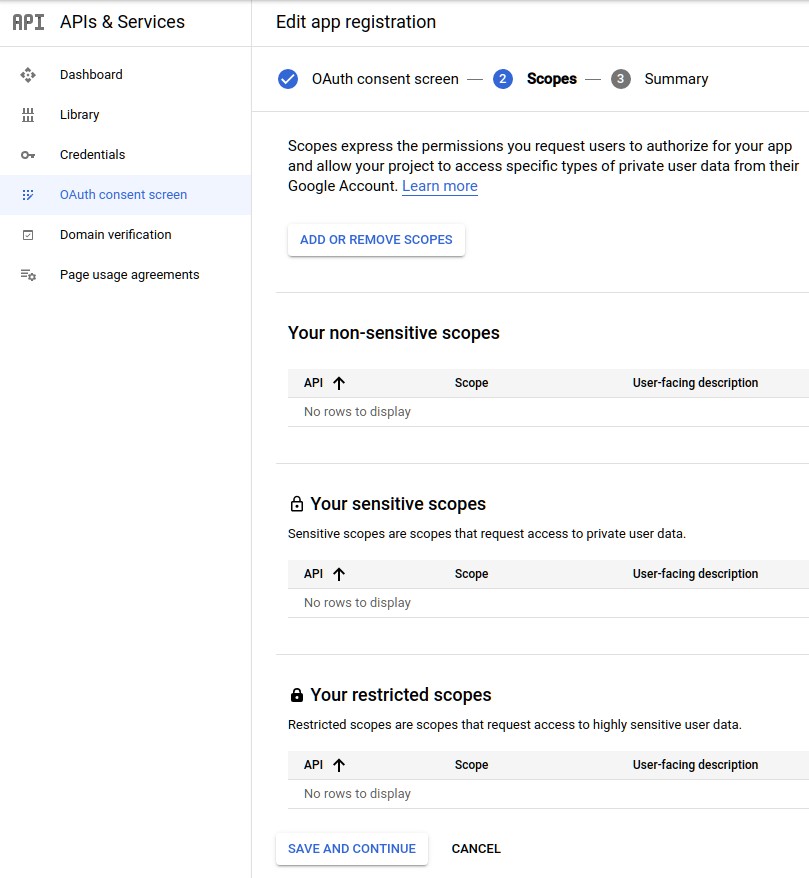
- On the Scopes wizard page, click Add or Remove Scopes.
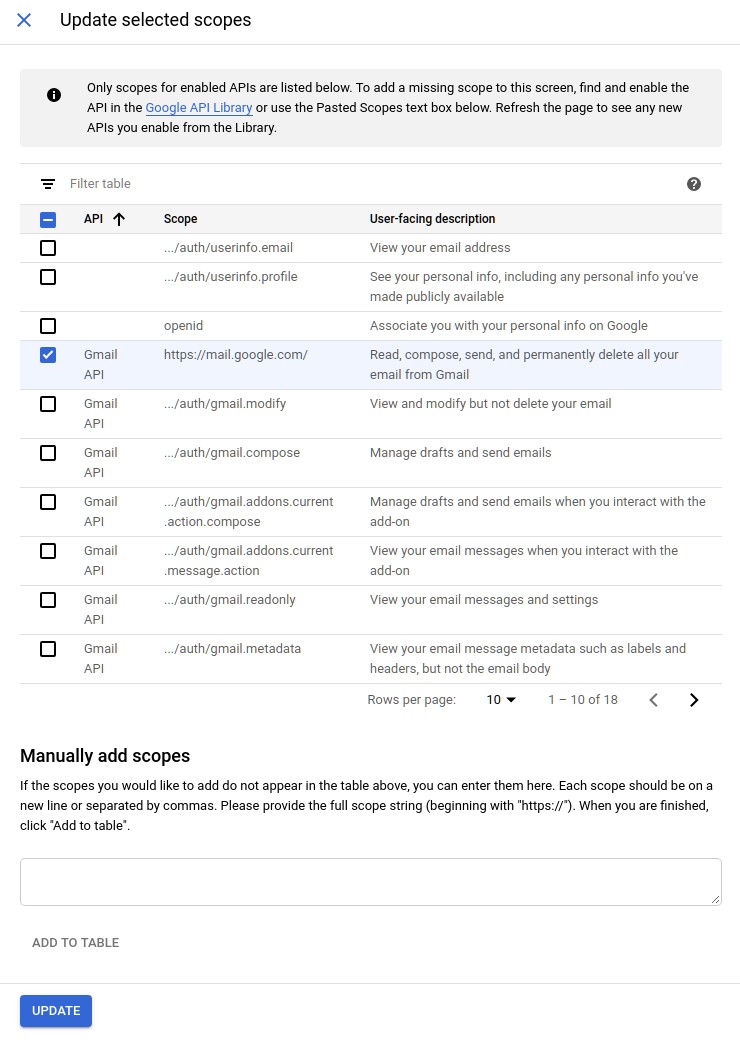
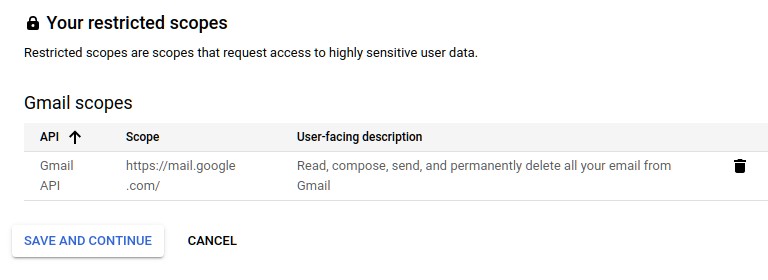
- Select the Gmail API scope and click Update.
- Click Save and Continue.
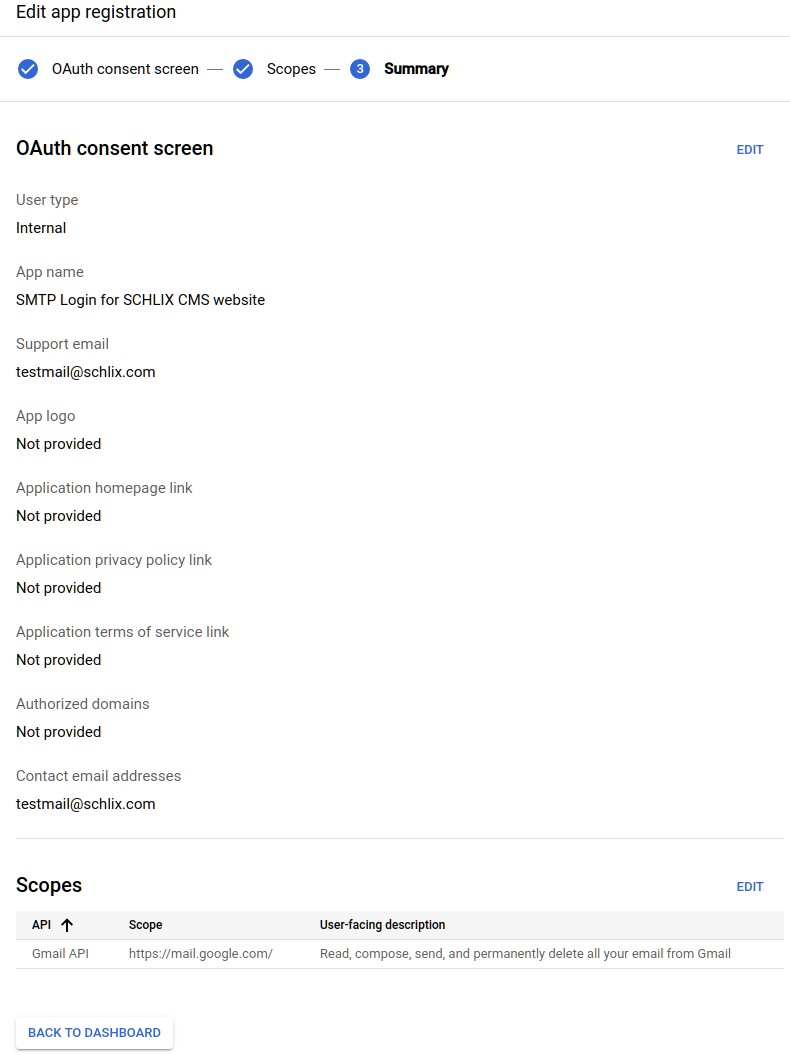
- Once you're on the Summary page, click Back to Dashboard.
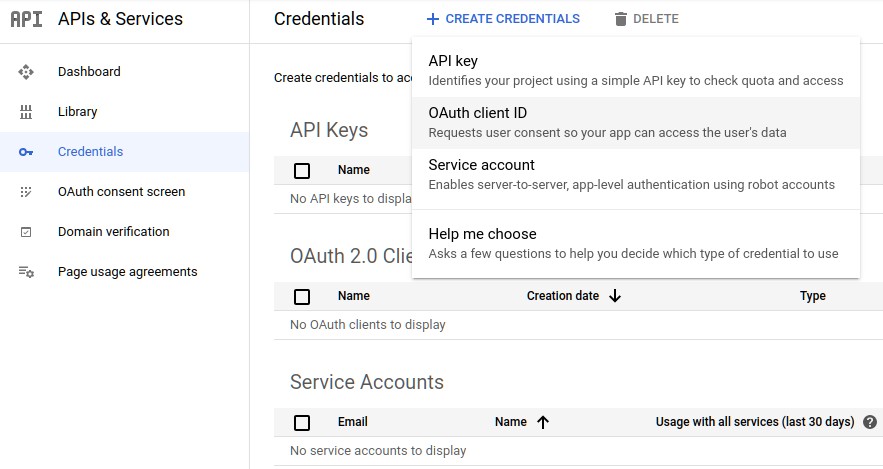
- Click Credentials, then click Create Credentials, and select OAuth client ID.
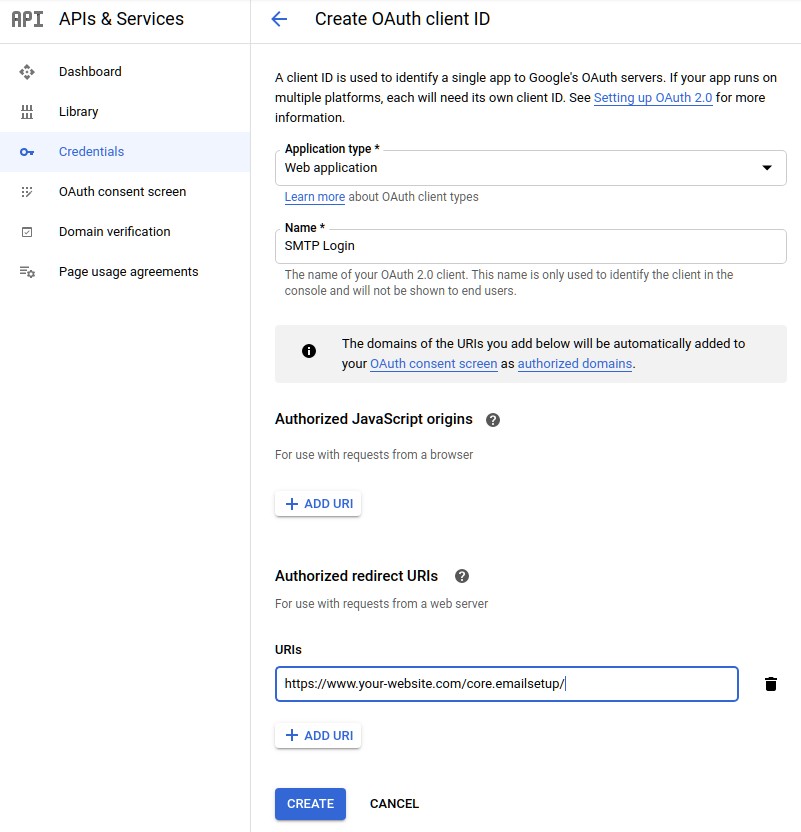
- Select Web Application as the Application type and set the redirect URL as specified on step 2 on your SCHLIX Email Settings/Authorize OAUTH2 connection page, then click Create.
- Your client ID and secret have now been created and you will need to copy and paste these two value on your SCHLIX CMS Email setup page.
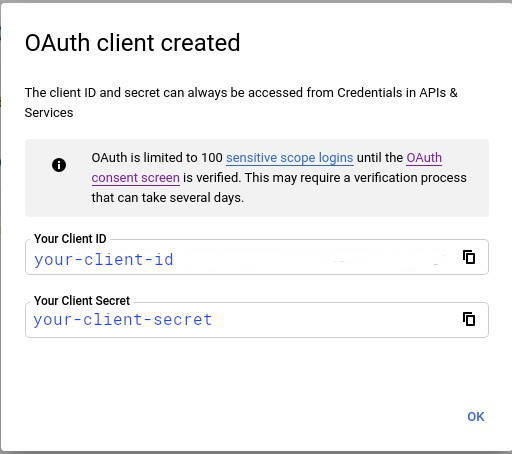
- Go back to the page on Step 2, fill inthen click Request Authorization

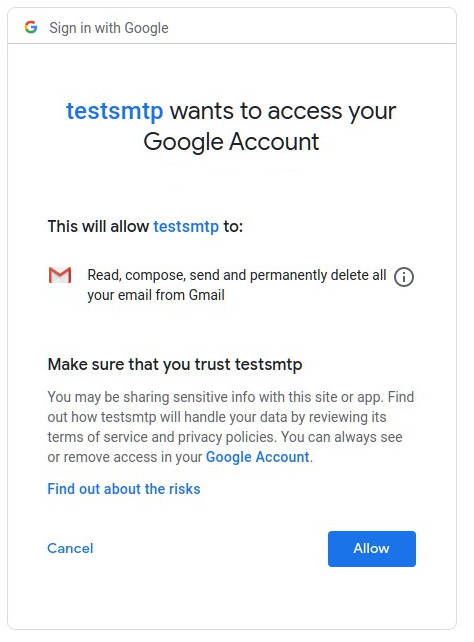
- You will then be redirected to this page.Click Allow to authorize the request.
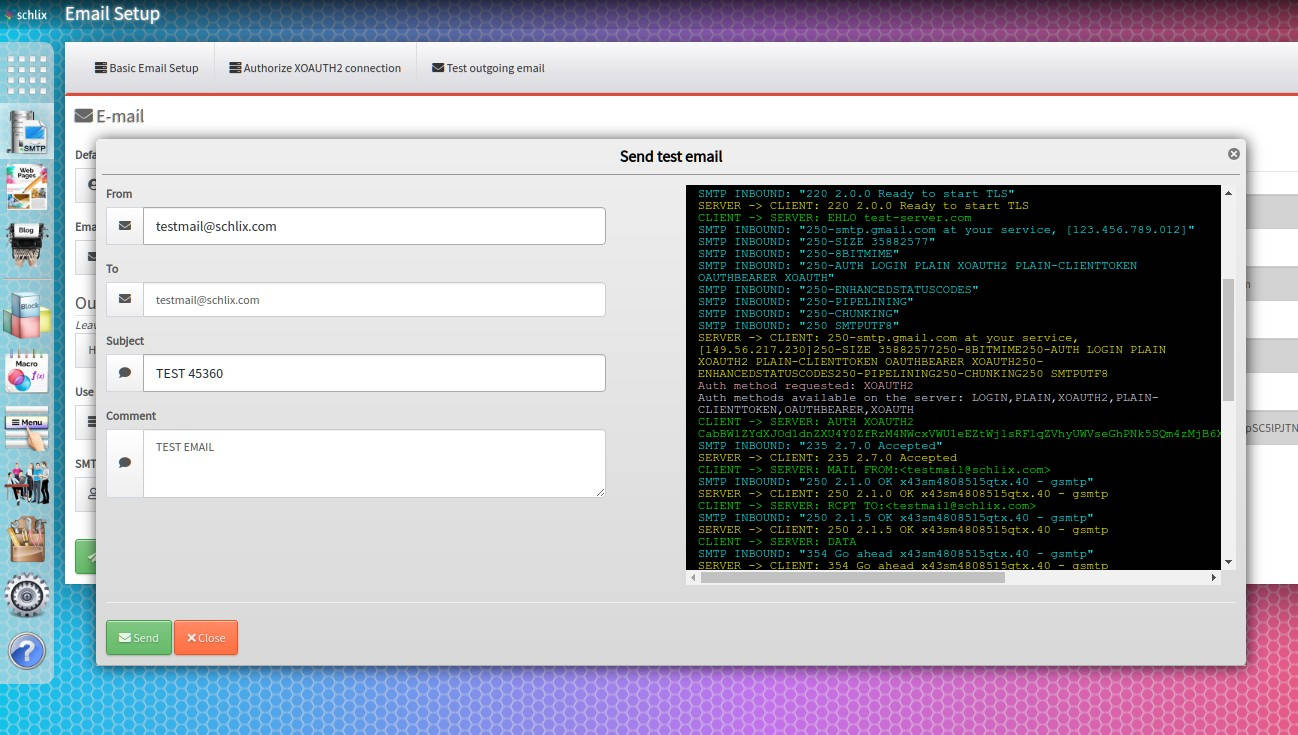
- That's it, you can now test it by clicking the Test outgoing email button.
Note: the refresh token can only be generated once. The information will be saved automatically. The most common error is empty eefresh token. In this case, you will need to delete the credentials that you've created, and repeat step 14.
Google Workspace/G Suite/GMail SMTP setup method for SCHLIX CMS prior to v2.2.5
If you have Google Apps for Domain/G Suite or GMail and would like to use GMail as your SMTP server, click Settings -> Site Settings then use the following information:
- Server name: smtp.gmail.com
- Port: 465 (SSL) or 587 (TLS)
- Username and password must be specified
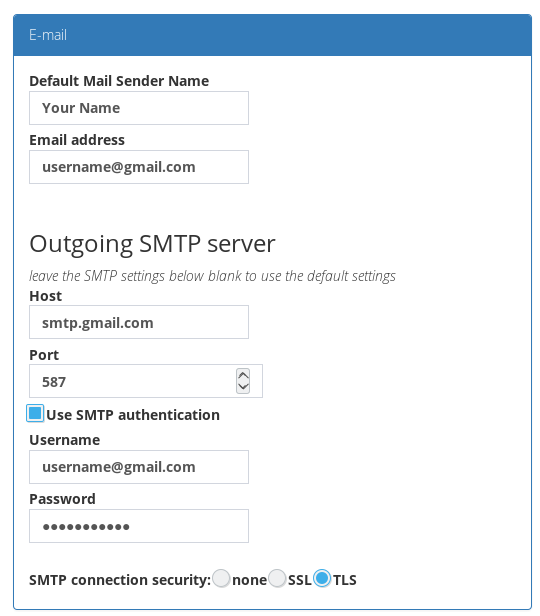
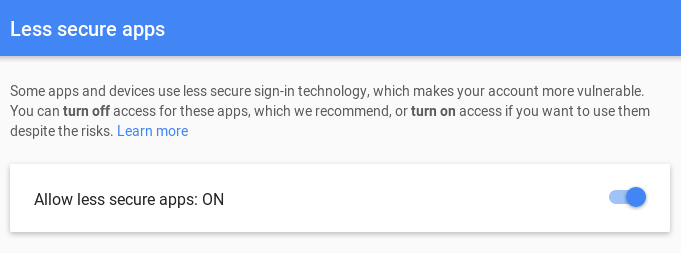
If GMail still rejects the authentication, you may need to enable the following settings from your Google Account until SCHLIX CMS implements OAuth 2 authentaction specifically for GMail. Other email providers do not need to have this mechanism.
